 |
| Manufacturers |
| Ar E 381 |
| Ar E 555 |
| Ar E 580 |
| Ar E 581 |
| Ar E 583 |
| Ar Project II |
| Ar TEW 16 |
| Home |
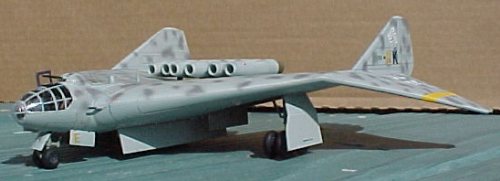
Revell - 1/72 - Injection Moulded
Bill Shanholtzer - USA

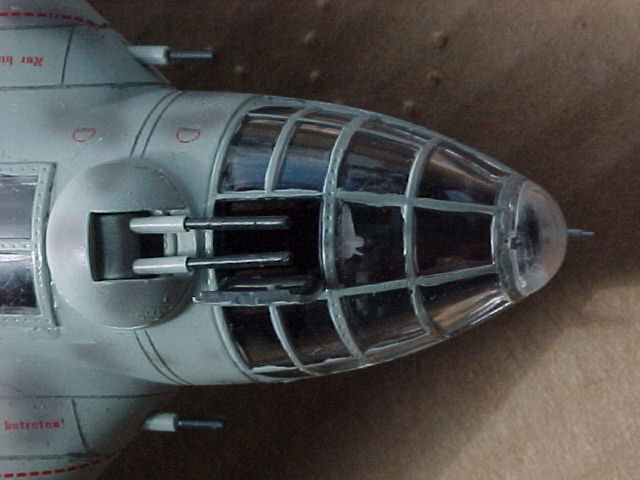
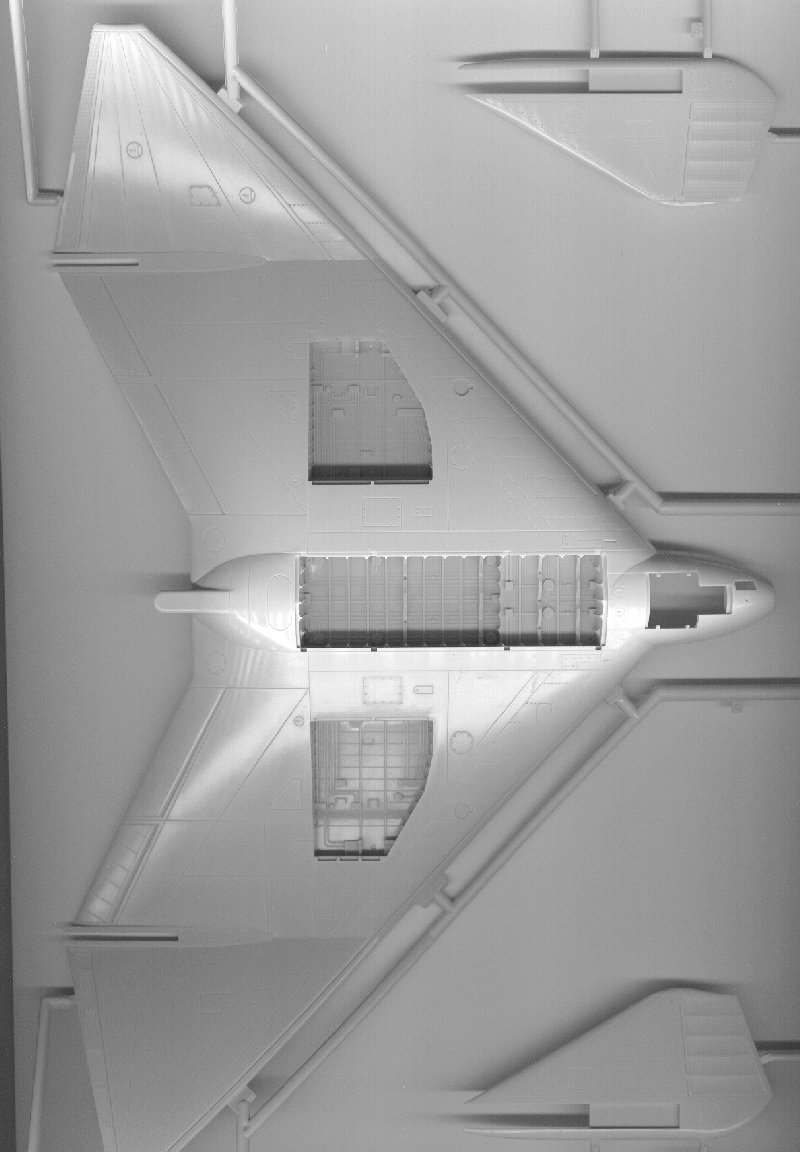
I was really looking forward to this kit and I wasn't disappointed! The parts are moulded in light grey plastic with crisp recessed panel lines. The level of detail everywhere is very nice! Of note is the cockpit area and the landing gear bays. The bomb bay area is also nicely done and all the places beg for some nice dry brushing!
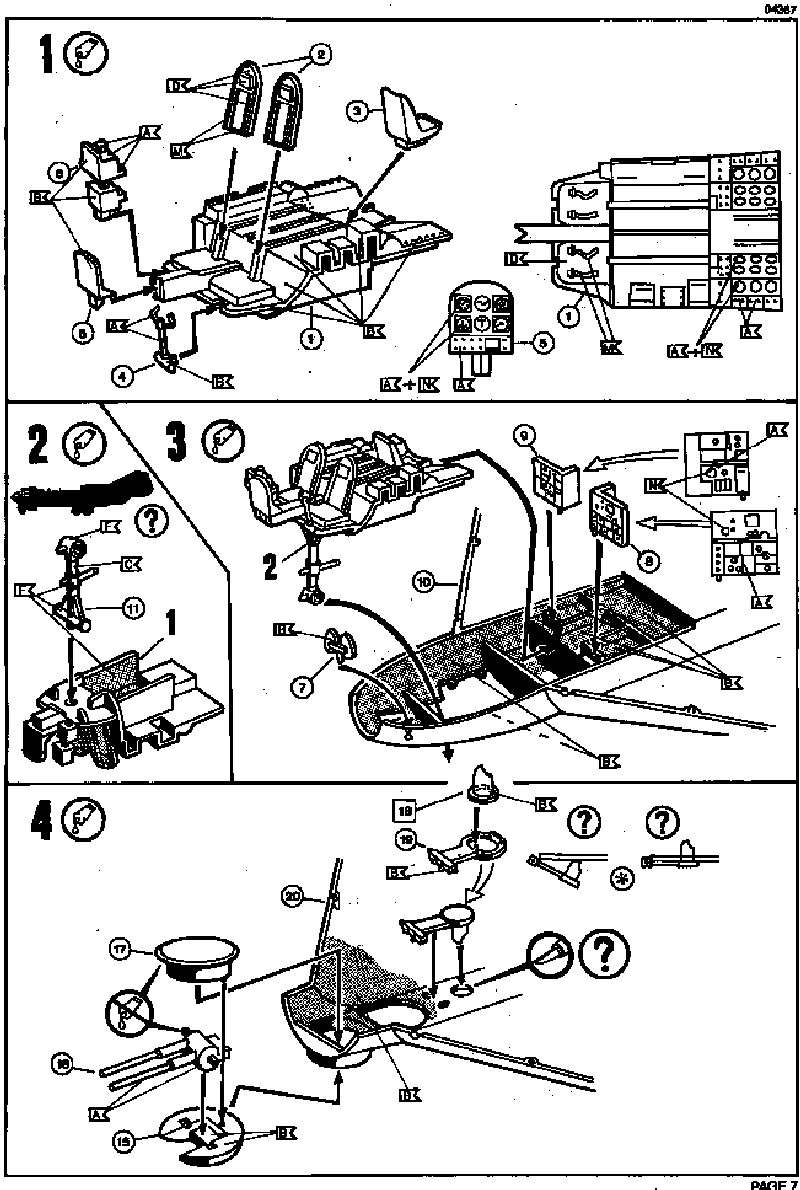
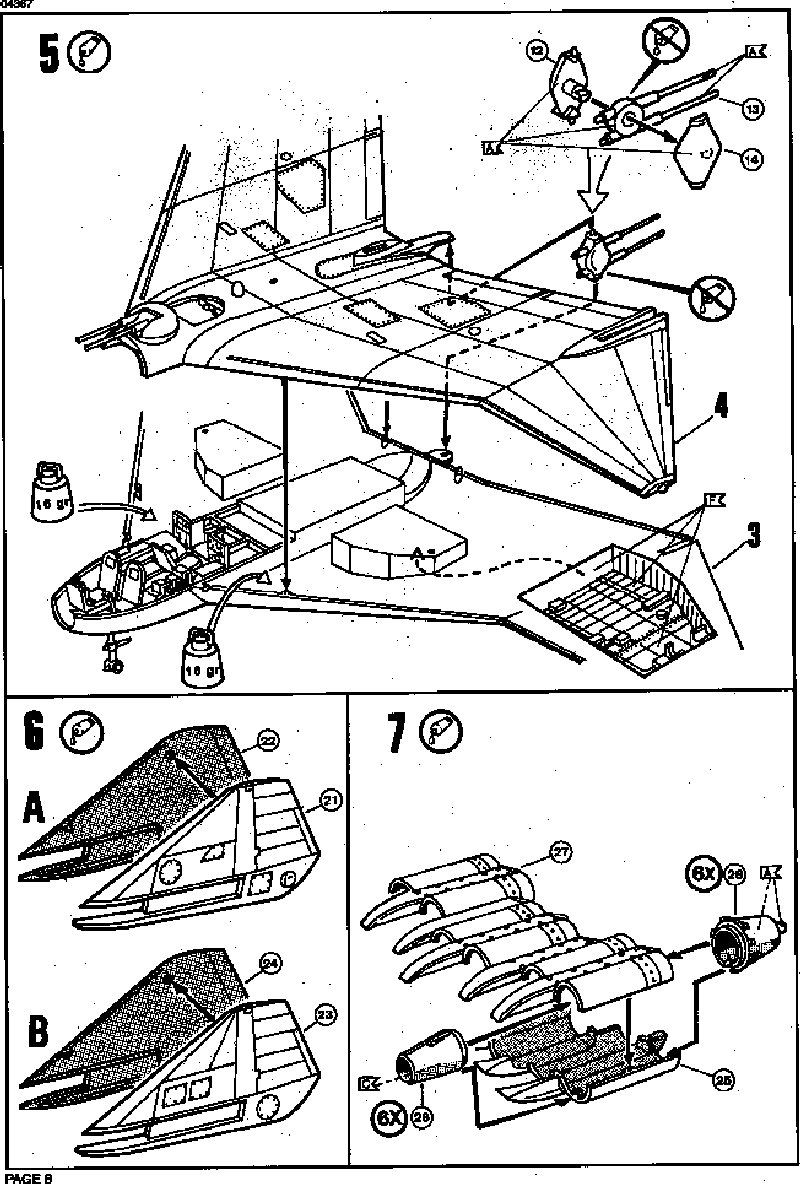
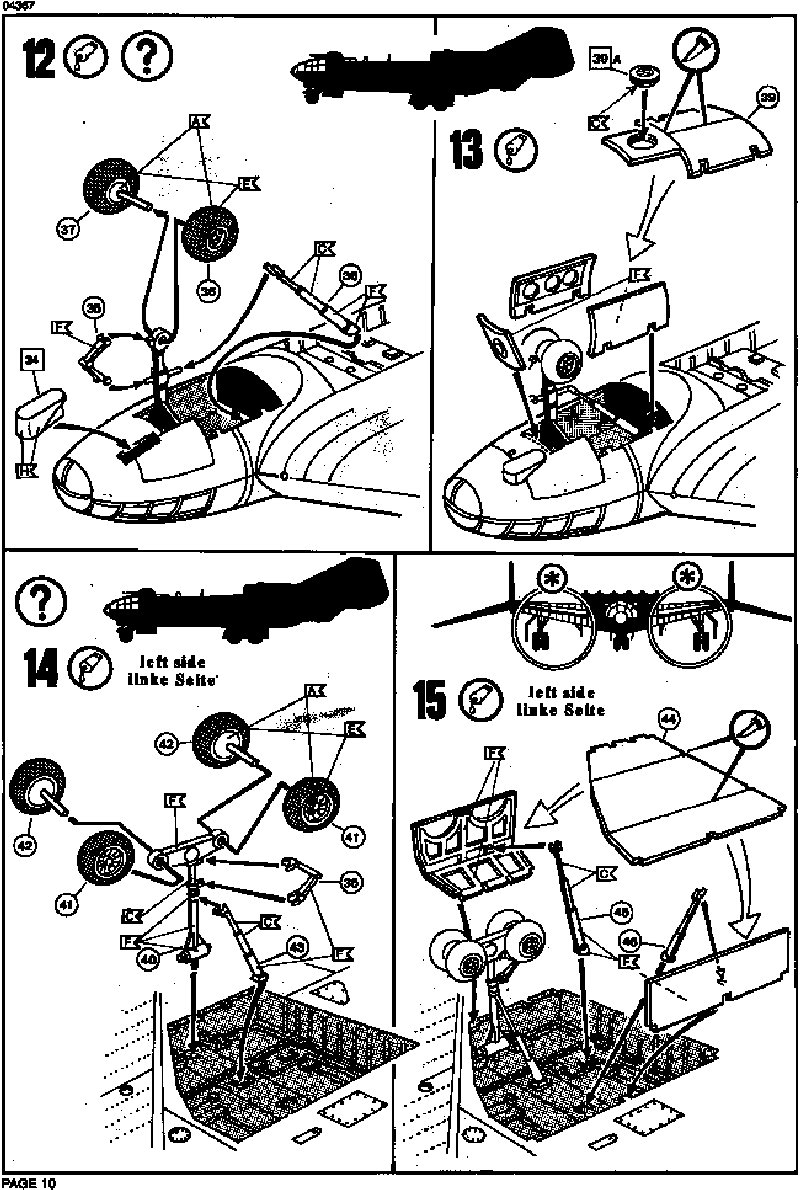
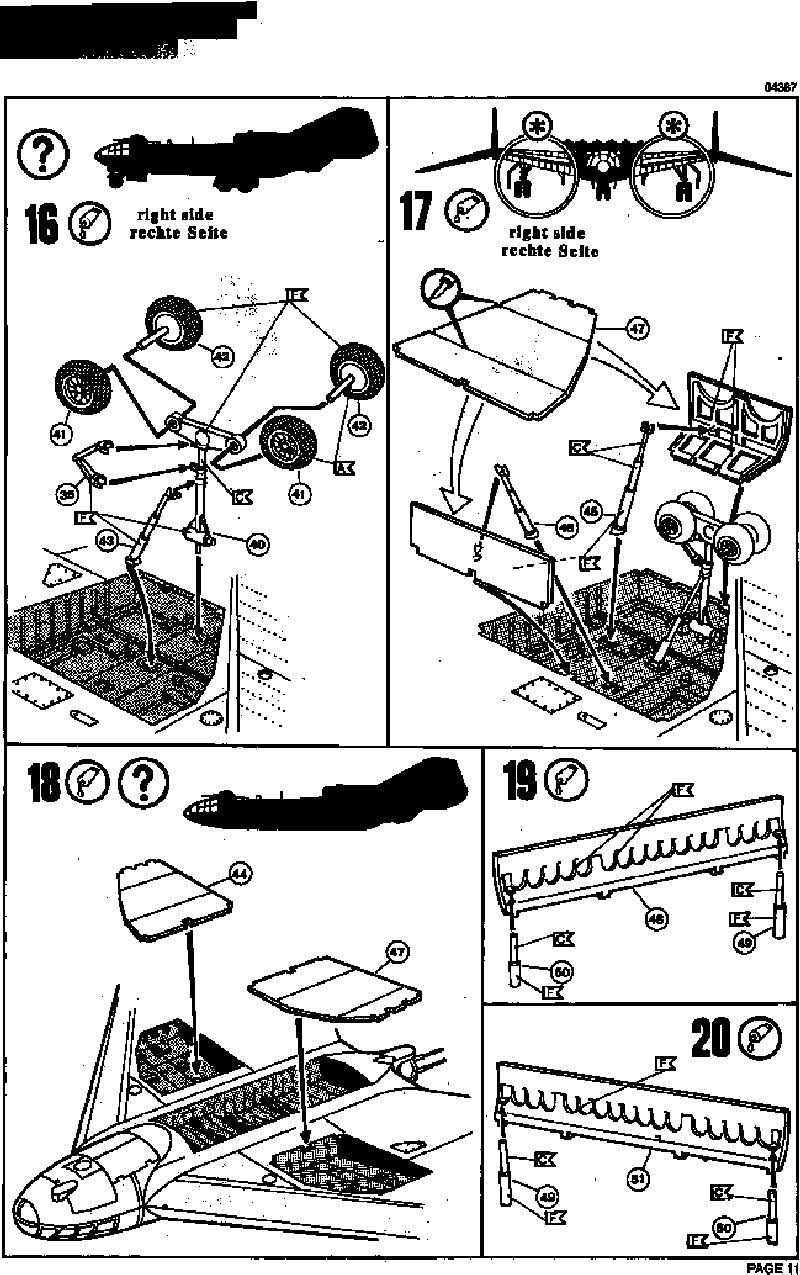
Assembly starts with the cockpit area as with almost every other bird I've built. It comes in ten separate pieces and the seats have the belts moulded in. You have to fiddle a bit with the cockpit tub to get it to fit properly in place but it does go in quite well. Just make sure to test it before securing. After installing the upper turret, it's time to join the wing/fuselage halves together. The instructions say to add 16 grams of weight to the leading edge area. I say to double that amount! With the bogey style main gear, it takes some significant weight to get it to sit on the nose. I discovered this the hard way and had to find other spots to hide weight after it was assembled.
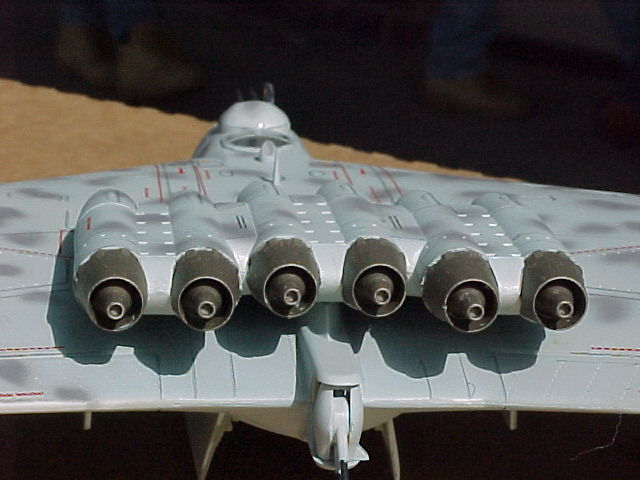
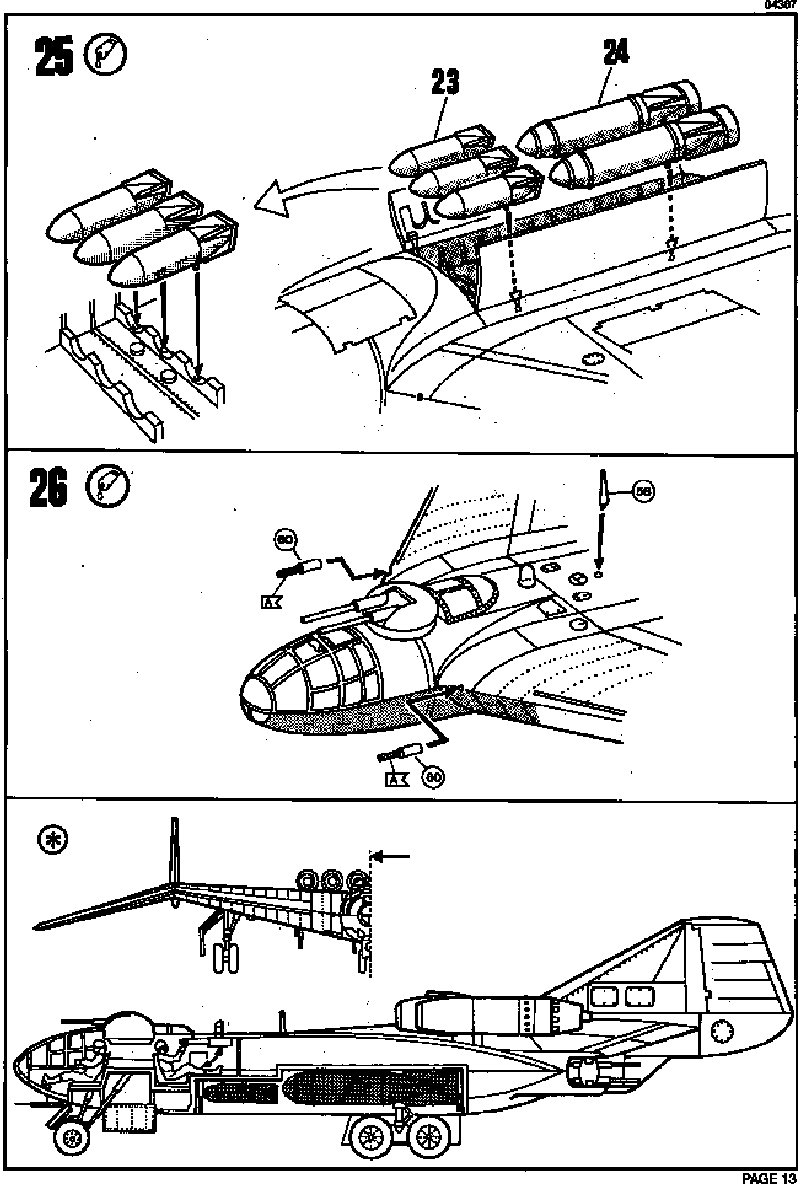
I also did not install the engine pods to the aircraft until after painting. There is exposed area between the engines and the wing so I left them off till after painting.
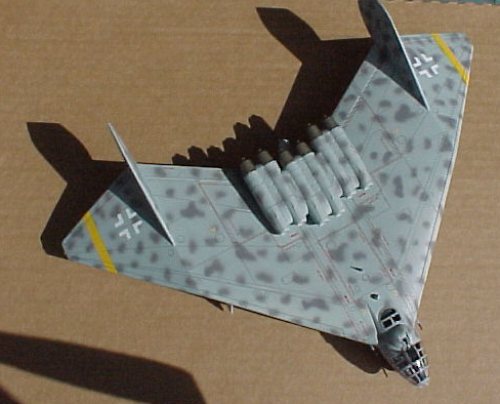
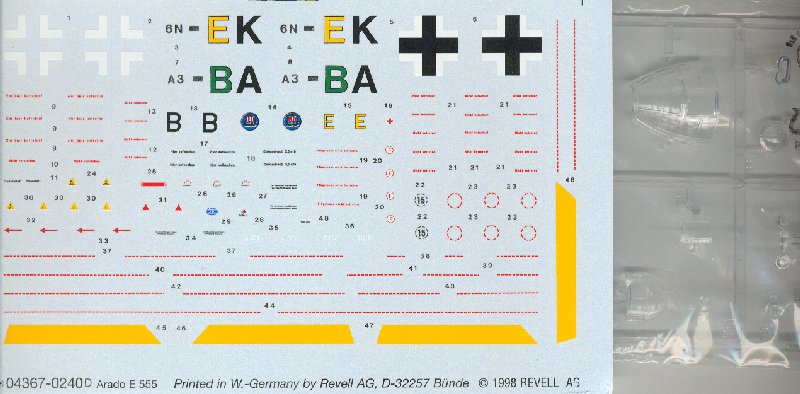
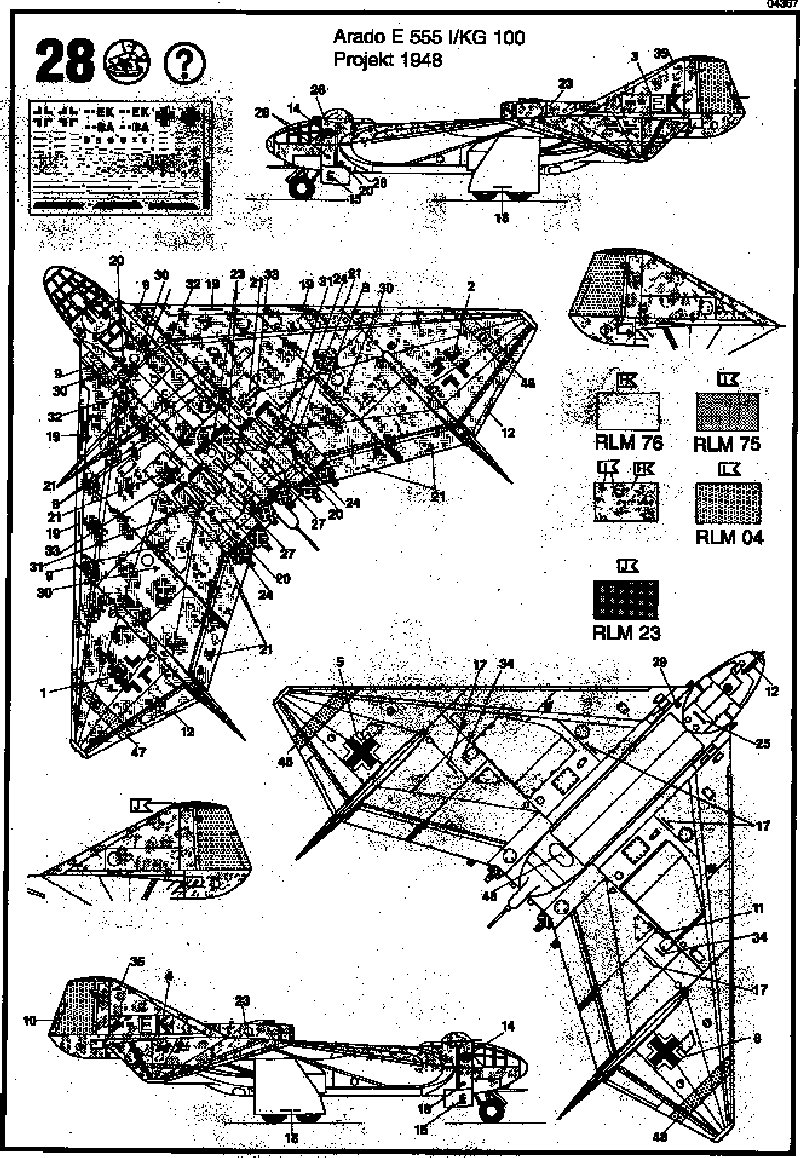
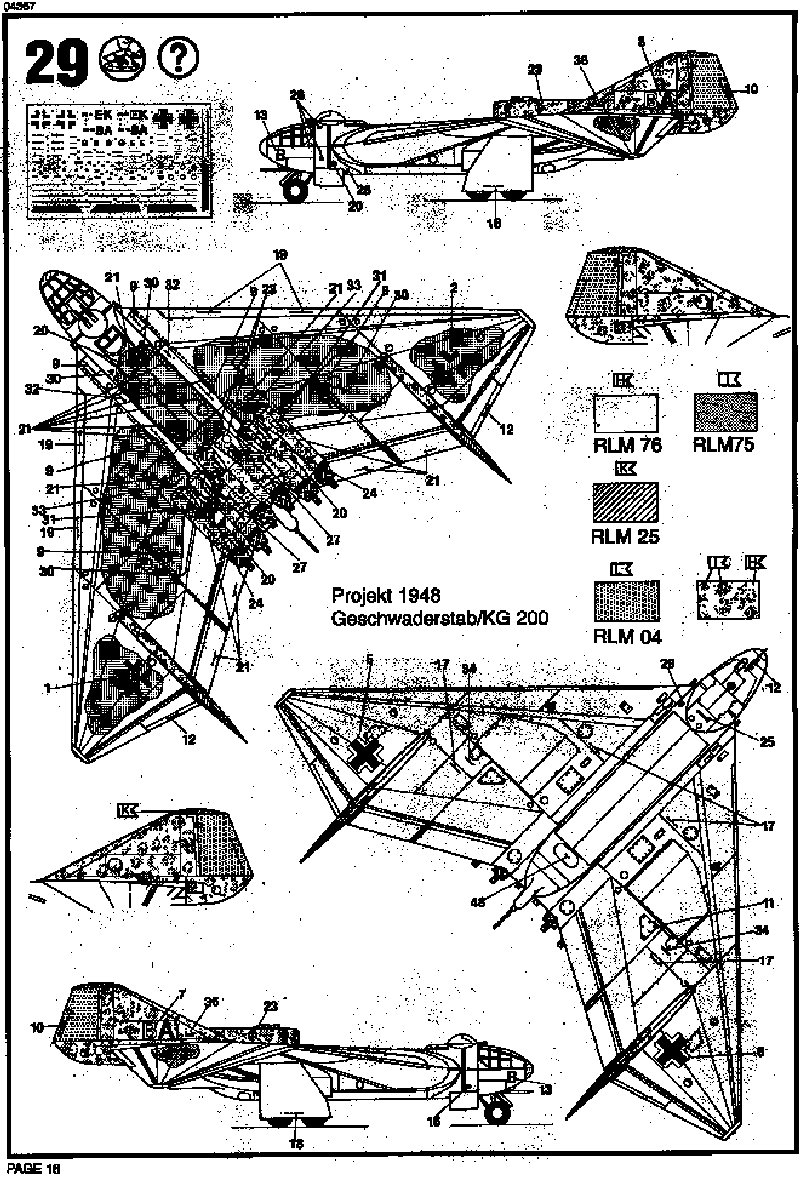
Revell offers two different schemes to do it in, but I opted for the version illustrated on the box art. I did mine RLM76 overall with RLM75 mottling on the upper surfaces.
The decal sheet is quite extensive and includes a ton of stencils! There are no less than nine "no step" decals and various other stencils for flaps, ailerons and other control surfaces. I had no trouble with the decals and they reacted well to Solvaset.
All in all, this is one beautiful kit and I've seriously
considered
doing a second one! I highly recommend it to everyone who builds 72nd
aircraft. It's a real conversation piece to have on your shelf and as
close to a "shake the box" kit as I've done lately.
 |
 |
 |
 |
 |
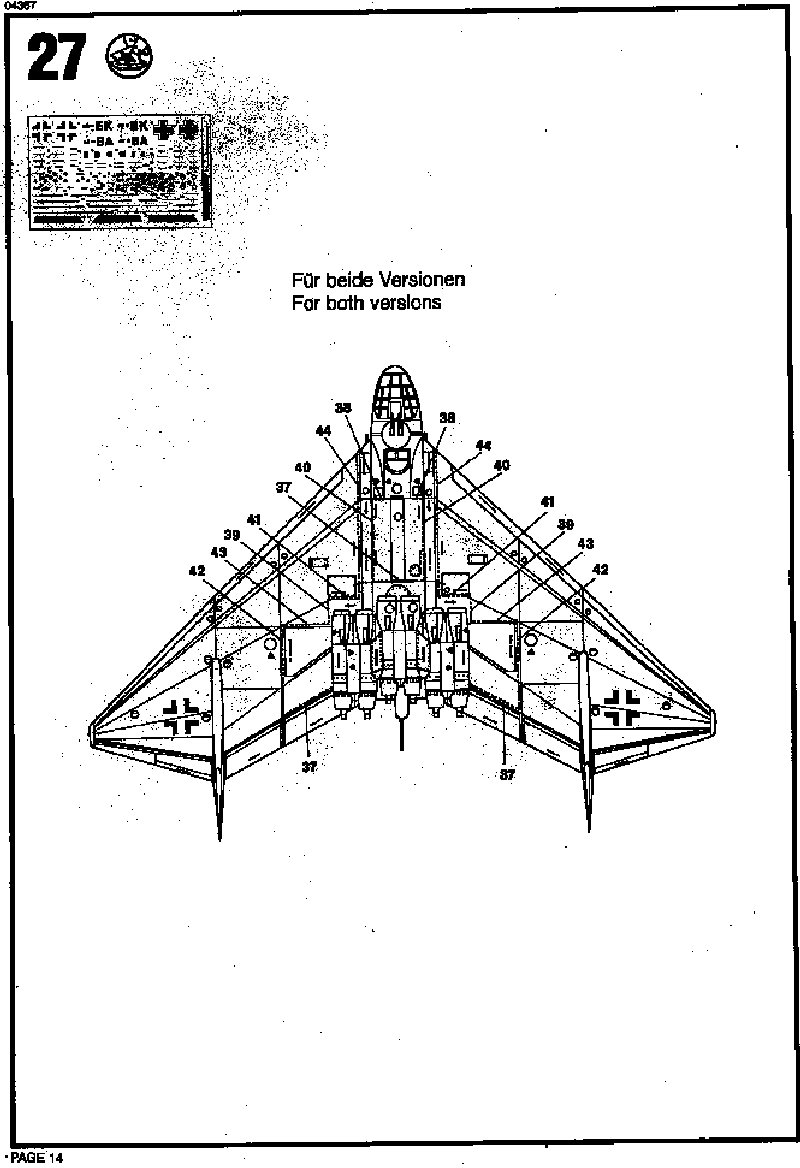
Below are the instructions and a scan of the parts etc. There was a review of this kit in the October 1999 edition of SAMI . Only a few things were mentioned of interest - for the engines - add the intakes and exhausts to the bottom before adding the top half of the engine. Add the engines to the body at the end.
Other than that this kit seems quite popular and well recommended . Buy one - being Revell availability should not be a major issue.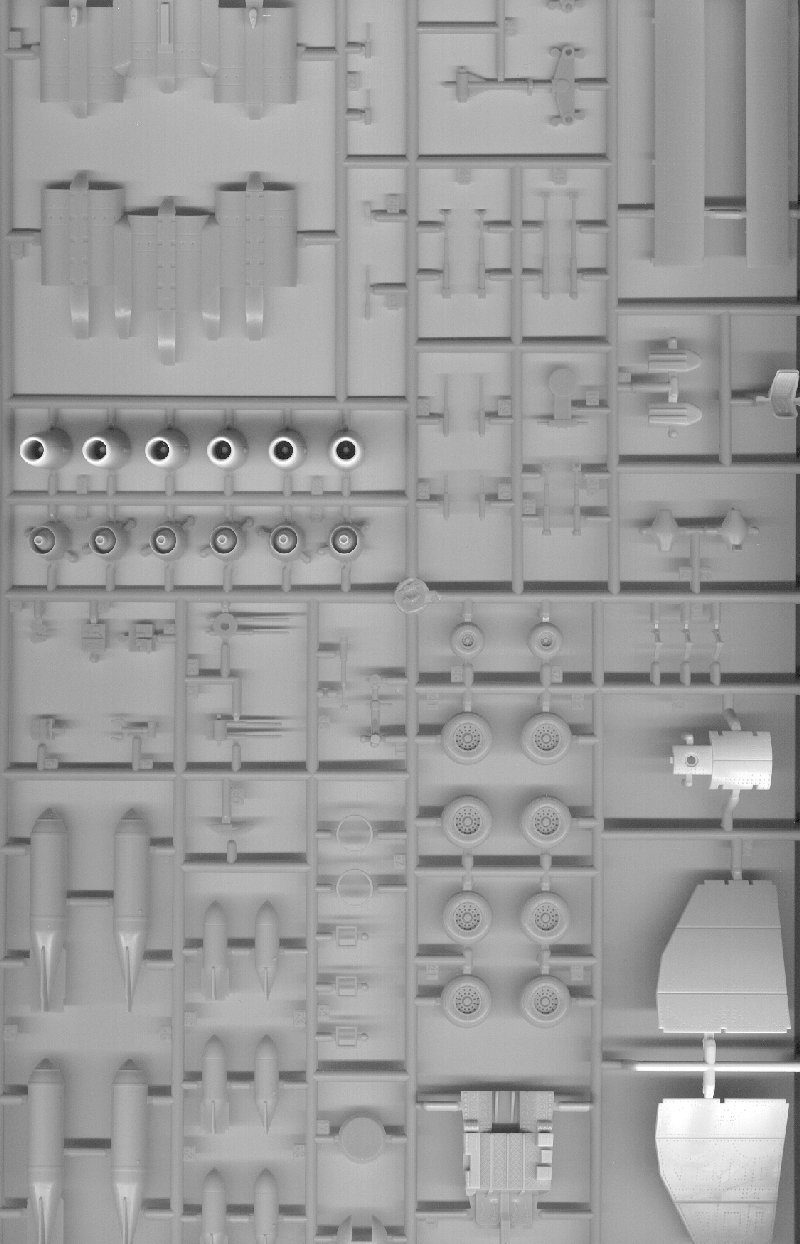 |
 |
 |
 |
 |
 |
 |
 |
 |
 |
 |
 |
 |
 |