 |
| Manufacturers |
| HS List |
| HS 132 |
| HS P 75 |
| HS P 87 |
| HS P 122 |
| HS P 135 |
| HS PJ 600/67 |
| Home |
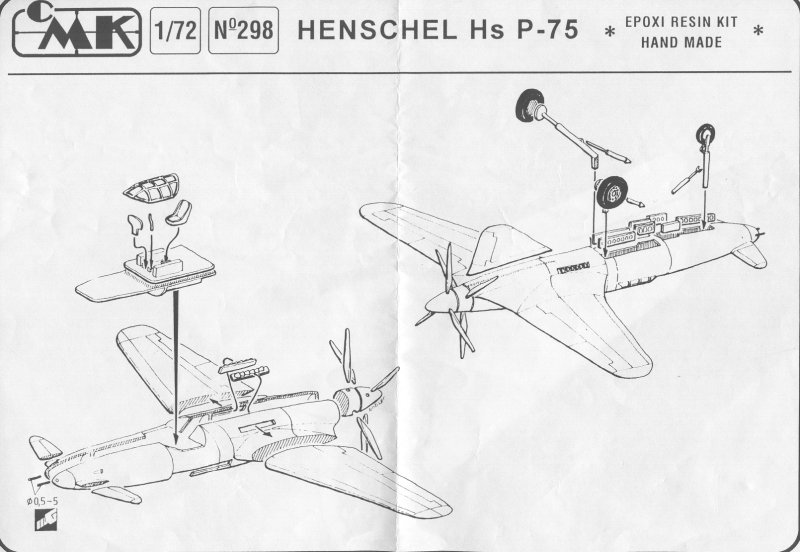
CMK
Graham Causer
 |
 |
 |
HISTORY……
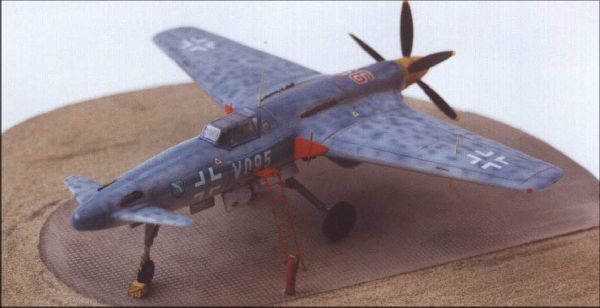
In keeping with the directive that all available aircraft should be utilised to defend the Reich the remaining development P.75's were prepared for service. V 095 along with the five other airworthy aircraft were flown by Henschel factory pilots to join the Messerschmitt 262's of JG.7. Like the B&V 208's, they were designated for airfield defence and using the economy of their piston engines, (compared to the thirsty jet 262's), they were able to 'loiter' in the vicinity of the wooded landing strips and await the arrival of Allied fighters intent on destroying the landing jets……………
THE MODEL……
Supplied by Earl Martel of NKR Models, for a bargain price, this is another 'pusher' engined aircraft which is reproduced in resin. It joins my Luft '46 stable of similar layout aircaft kits – B&V P.208 and Hs P.87.
This 1/72nd scale model is packed in a plastic bag along with an A4 size diagram of where everything should go! No decals or painting instructions are included. I armed myself with my usual aids – razor saw, fine cutting pliers, emery boards (finger nail files), tweezers and assorted grades of wet'n dry paper. For this one, I used both two part 'five minute' epoxy and liquid superglues.
As always, separating and cleaning up the components is the most time consuming – but care here will be rewarded when painting later! A 'dry run' of the main fuselage halves and interior told me I would be requiring masking tape and elastic bands to secure it all until it dried. I had to sand away a lot of the wheel well casting and constantly keep checking its fit against the fuselage halves until it became apparent that it would all fit together. I chose not to utilise the interior base for the cockpit and so I detached the side consoles and remounted them later on top of the wheel well interior unit which now doubled as a cockpit floor. This choice would give greater depth to the cockpit interior when viewed through the canopy. I used the two part epoxy glue to assemble the fuselage halves and wheel well unit. It was all taped and elastic banded together then left overnight to set.
The next evening I rubbed down the excess glue along the joints and attached the wings and canard foreplanes with liquid superglue. There were some slight gaps along the joints and I filled them with the superglue and sanded a piece of spare resin over the joint – the falling resin dust particles make a nice filler with the superglue! ALWAYS wear a face mask when sanding resin. I next attached the undercarriage – care and patience here is essential and I used all kit supplied components. Where the two main wheel legs meet, I added a triangular shaped fillet of surplus resin that looks like its part of the 'original' spec and adds strength to the joint. I then glued some fishing weights into the front of the nose wheel bay to enable the plane to sit on its wheels. The individual propeller blades were attached to the contra-rotating unit and angled accordingly. The prop unit was superglued to the airframe and I was delighted to find adequate ground clearance!
The cockpit interior was detailed to my choice, wheel doors, new gun barrels, (brass rod), and exhausts finished the main assembly. The diagram indicated the exhausts should be fitted through from the INSIDE of the fuselage – in reality I overlooked this and added mine at this stage from the outside! The cockpit canopy was carefully cut from its sheet and trimmed to fit – not bad either. I hate vac-form canopies too! A Me 262 cockpit detail set was 'butchered' to add instrument panel and side consoles.
Camouflage and Decals.
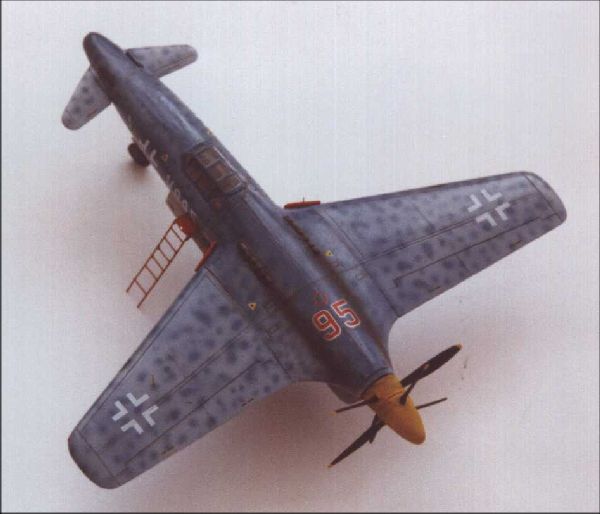
I planned another fictitious scheme for this one – the only 'original' item would be the use of 'RLM' colours. After a lot of thought, I finally settled for an overall RLM 63 – Lichtgrau and an upper surface mottle of RLM 24 – Dunkelblau. The blue being intense over the centre line of the fuselage and 'thinning' over the breadth of the wings. I then just 'blew over' the whole of the upper surface with a thinned down wash of the Rlm24. Yellow seemed nice for the spinner and a mixture of Humbrol Bronze and matt Black for the exhausts. An exhaust stain would be added later over all four exhausts by the use of the airbrush. I chose Humbrol Matt 65, a 'Duck egg' blue for the base cockpit colour. The seat is green and straps brown. I mixed a few spots of 'Indian' Ink with water and added one tiny drop of washing up liquid – 'shake or stir' well – and using a VERY thin paintbrush filled the panel lines over the airframe. Excess ink is just wiped away with a tissue! Pleased with the result, I used the same 'wash' in the cockpit interior, over the exhausts, undercarriage and propellers.
Decals came from various Me262 sheets that I have 'spare'. Thinking that the German pilots would be as surprised as the Allies to see this unconventional shape, I added the 'last two' numbers on the upper fuselage for ease of identification by friendly aircrews. As this aircraft, like the B&V 208, stands quite tall I dug out a couple of access ladders that I had in my spares box. One is PP Aeroparts etched brass for an A-4 Skyhawk and the other is from the Hasegawa TA-4. Both were slightly 'modded' and painted orange/red then dipped into the thinned ink solution!
I was concerned at the lack of air intakes for the engine bays and took it upon myself to manufacture two intake covers and place them at the wing root area. This seemed a 'natural' place for them!! ( I could stand corrected!)……I'm sure that one day I will go back to building F-16's and Tornado's but for now I will continue to enjoy letting my imagination run wild with what might have been in the days of '46……..Another 'Highly Recommended' kit for modellers of unusual aircraft.
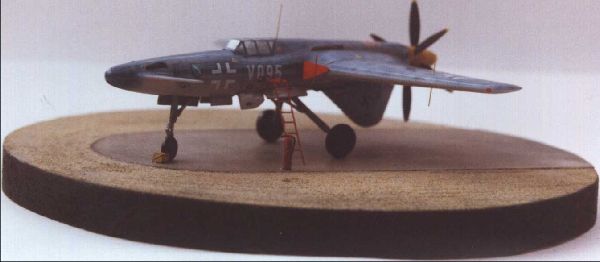
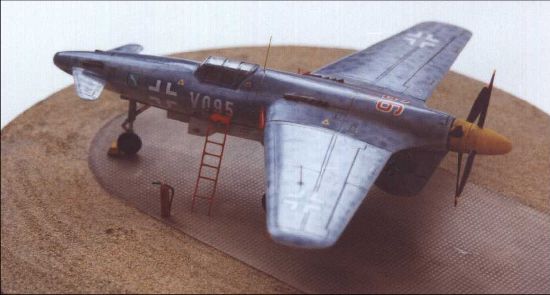
Below is Graham's beautiful finished kit - William Moore
 |
 |
 |
 |
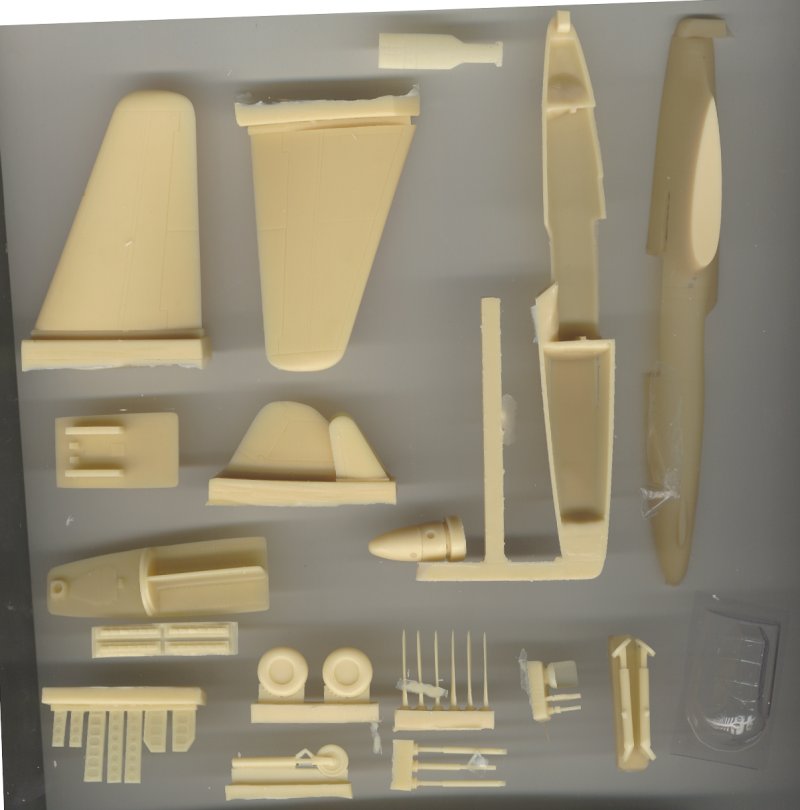
CzechMaster 1/72 Resin
Dan Johnson U.S.A.
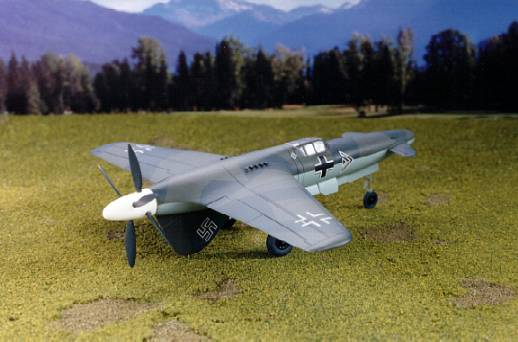
This is one of the new CzechMaster kits, and you can tell from the first glance at the packaging. The old multipocketed bag is still there, but now it's in another bag with a header card. The new kits are cast better, too. No more solid blocks of resin, the Hs P.75 is hollow cast and the fuselage walls are only about 1-2mm thick. Instead of the old parts "disc", all detail parts are cast to a resin runner. The one-piece wings and fuselage halves are also on a resin runner. The resin is a nice cream color, and looks flawless (at least until that first coat of primer goes on). I can tell all ready that this is going to be one tail-heavy kit, fortunately there's plenty of space up front for weight. Cockpit detail is sparse, consisting of a seat, stick and instrument panel. Overall, I think this is one fine looking kit, and I suggest you get it if you like early German Project aircraft. Here's Dan's completed kit. More photos on his website at www.luft46.com .
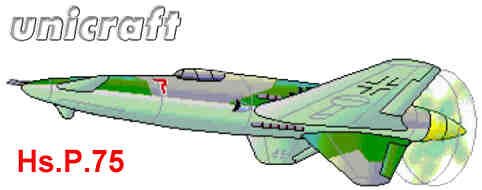
Unicraft 1/72 Resin